
First Aid
In austere survival situations, rapid medical intervention controls life-threatening trauma before professional rescue arrives. By prioritizing catastrophic hemorrhage control, airway stability, wound sanitization, and anatomical immobilization, you mitigate systemic infection and shock while maintaining a disciplined, low-profile posture.
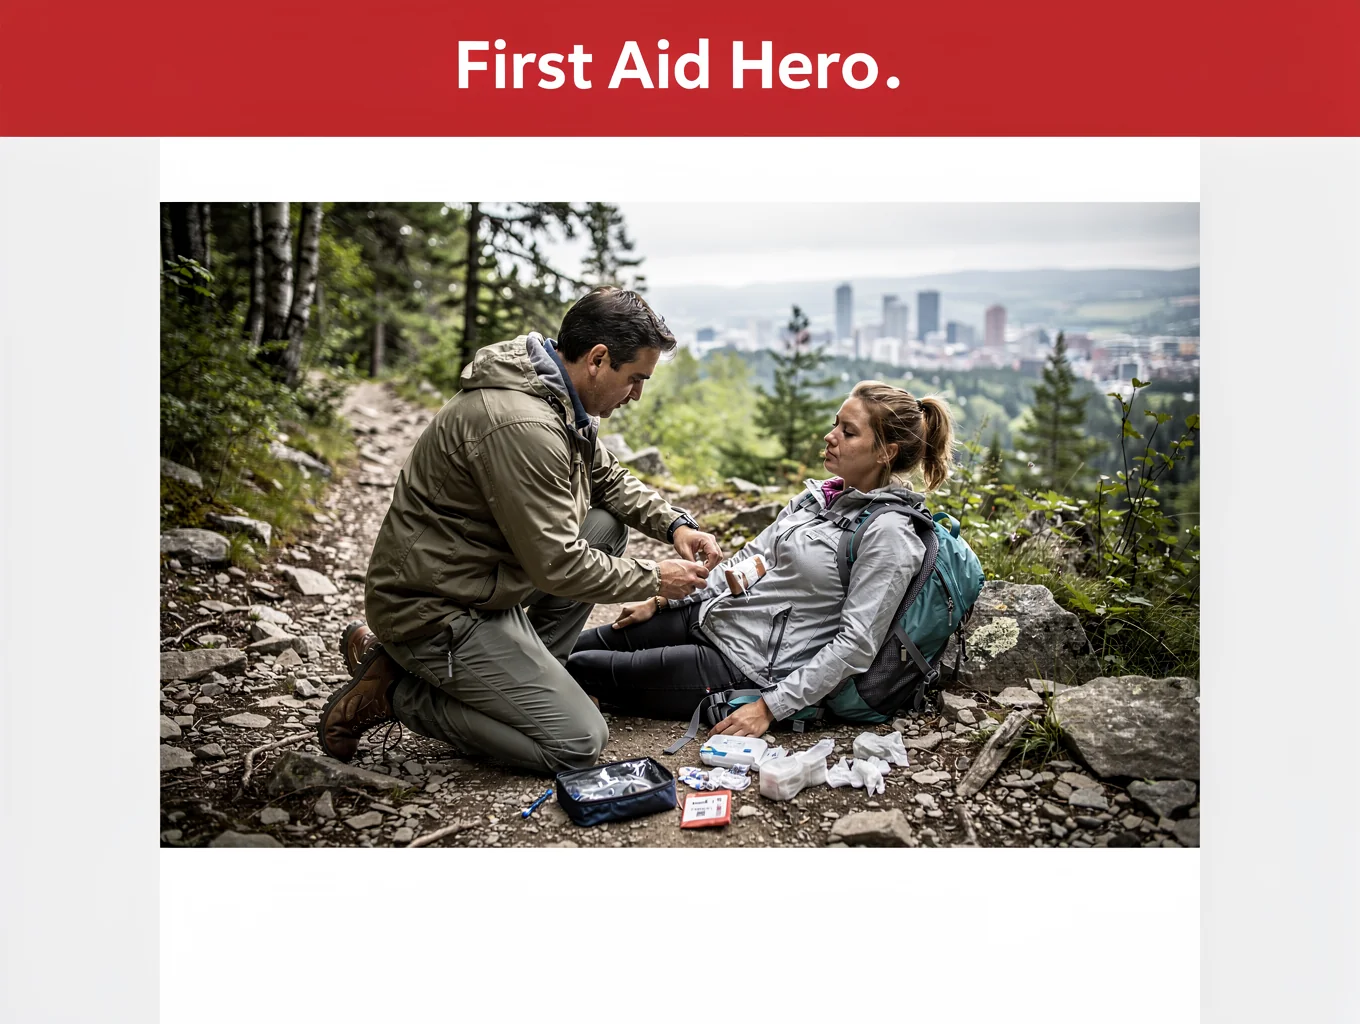
Critical Field Directives
- Address arterial bleeding immediately with certified windlass tourniquets placed high and tight on the limb.
- Maintain clear airways, monitor breathing dynamics, and guard against hypothermia to arrest the lethal trauma triad.
- Irrigate open injuries thoroughly using potable water before securing sterile pressure dressings.
- Immobilize suspected bone fractures and joint dislocations across adjacent joints prior to transit.
- Treat all field first aid as bridge stabilizing care; transfer the casualty to licensed professional care at the earliest opportunity.
Catastrophic Bleeding & Hemorrhage Control
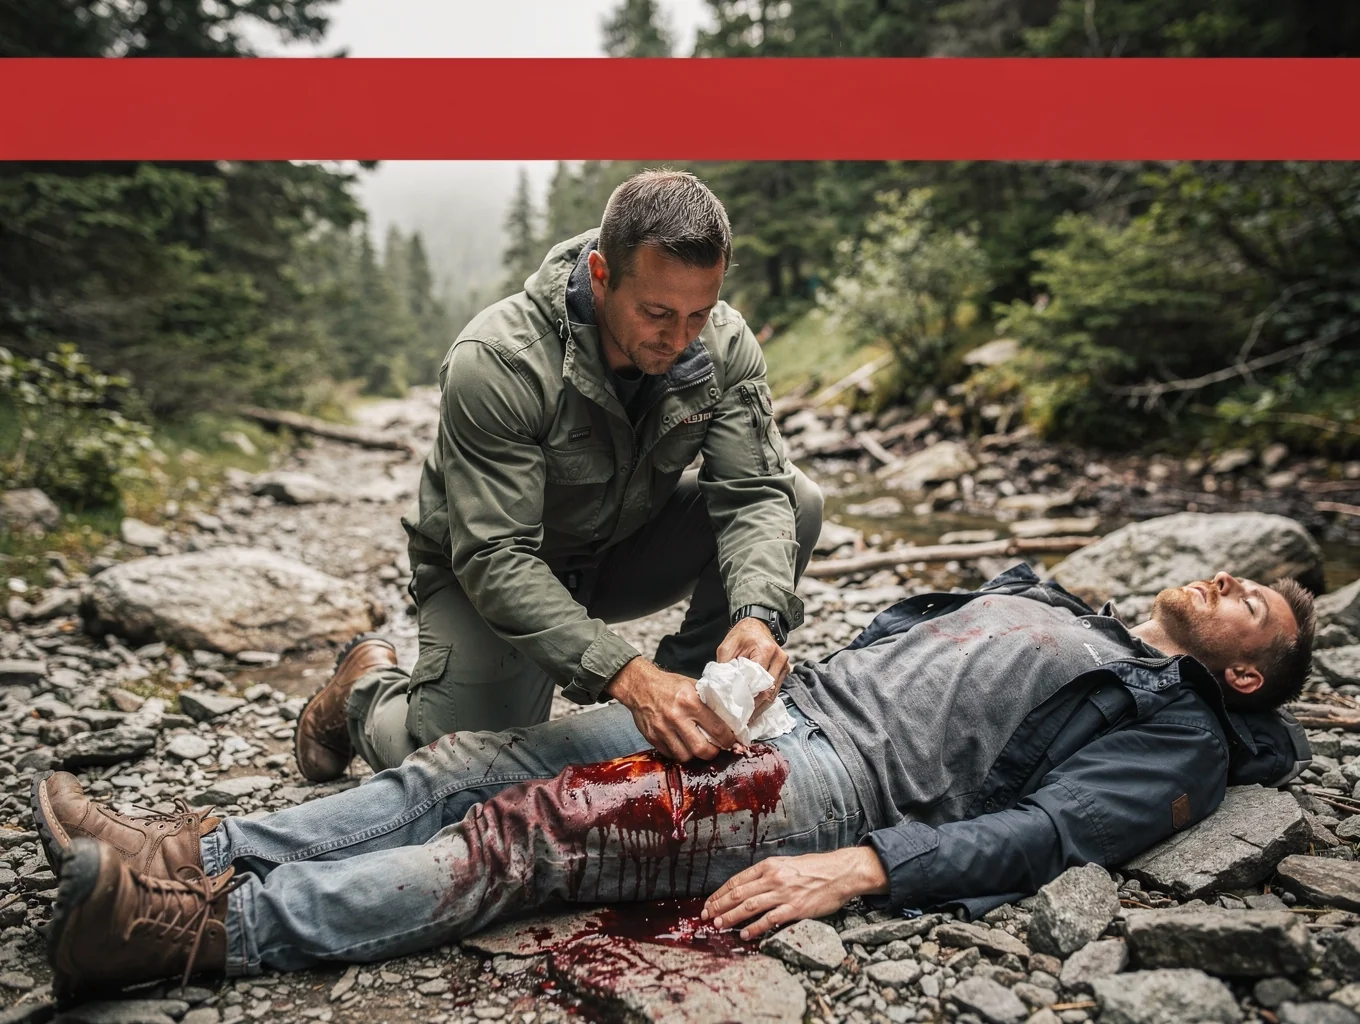
Uncontrolled arterial bleeding is the leading preventable cause of death in severe trauma scenarios. Rapid assessment must identify pulsing bright red blood or pooling dark venous streams within seconds. In severe extremity trauma, bypass minor pressure pads and immediately deploy a tactical windlass tourniquet directly over single-layer clothing or bare skin high and tight on the affected limb.
Tighten the windlass rod until all active pulsing bleeding ceases and distal pulses disappear, then lock the rod securely in the retention clip. Record the exact application time on the tourniquet surface or casualty's forehead. For junctional wounds located in the groin, armpit, or neck where tourniquets cannot seat, pack sterile hemostatic or standard gauze firmly into the wound cavity and hold uninterrupted manual pressure.
- 1Expose the wound rapidly to identify the precise origin point of arterial or deep venous hemorrhage.
- 2Apply a certified windlass tourniquet 2 to 3 inches above the wound or high and tight on the limb proximal to the injury.
- 3Twist the windlass rod continuously until bleeding halts completely and distal pulse is no longer palpable.
- 4Secure the windlass into the retention clip and document the exact time of placement on the label band.
- 5Pack deep junctional wounds firmly with sterile gauze, applying continuous direct pressure for several minutes.
Wound Debridement, Irrigation & Pathogen Defense
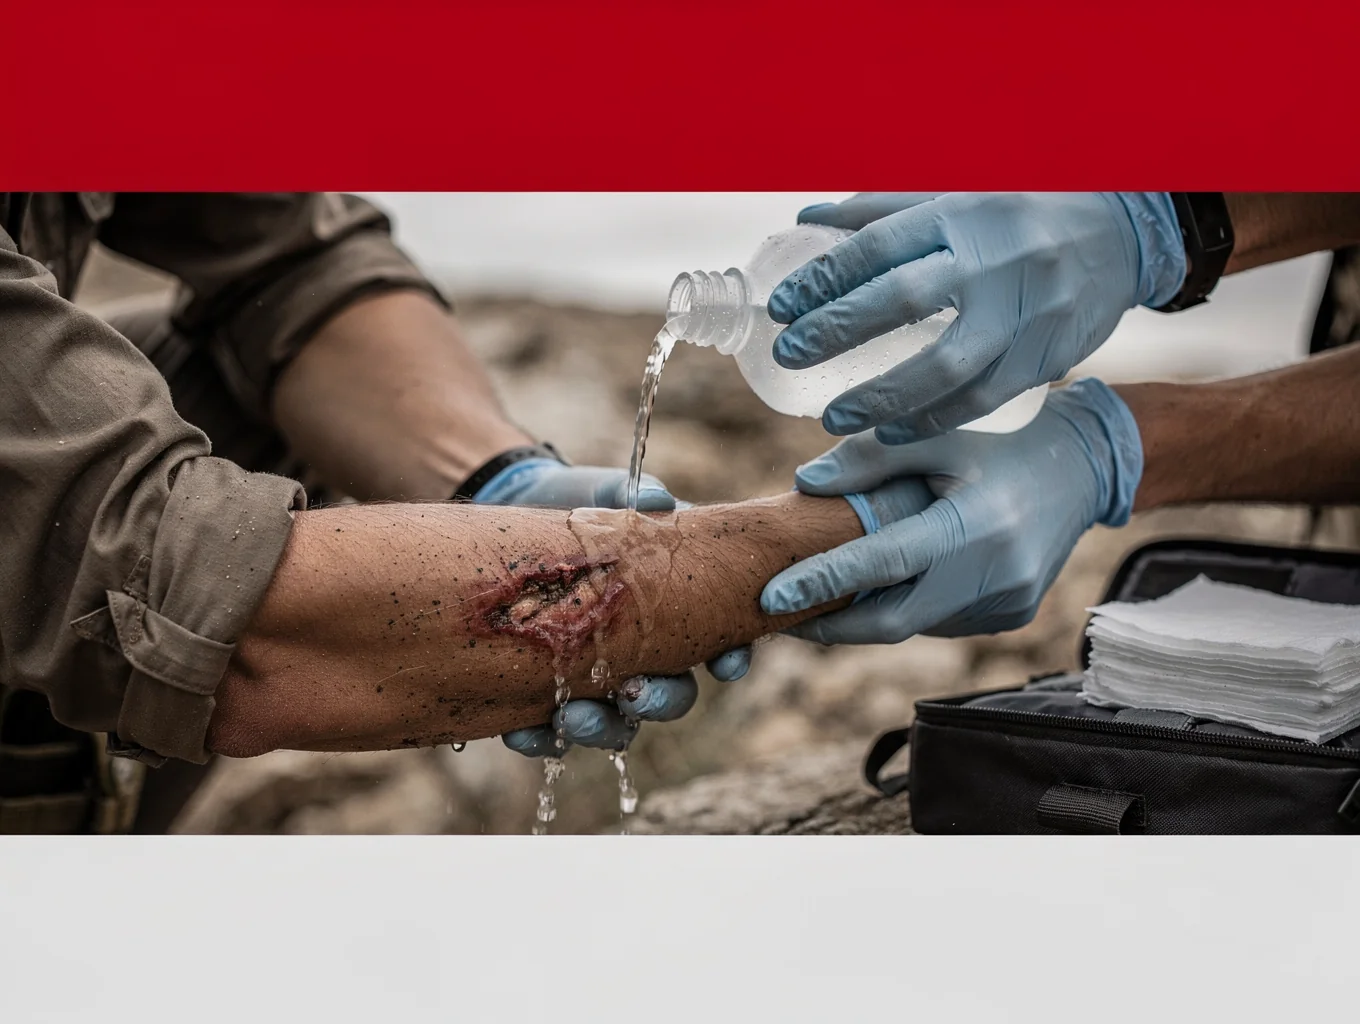
Secondary infection poses a lethal threat in sustained austere conditions where modern hospital facilities are inaccessible. Once active hemorrhage is arrested, wound management shifts to removing foreign particulates and preventing microbial colonization. Never pack dirt, unverified plant matter, or non-sterile compounds into open tissue.
Irrigate open lacerations and punctures vigorously using copious amounts of clean, potable water or sterile saline. High-volume, low-pressure flushing dislodges debris, bacteria, and grit without forcing contaminants deeper into healthy subcutaneous tissue. Cover the cleaned site with sterile non-adherent dressings and secure with uniform, tensioned compression wraps.
- 1Wash your hands or don clean protective nitrile gloves prior to contacting open tissue surfaces.
- 2Flush the wound cavity copiously with clean drinking water or sterile saline to remove particulate matter.
- 3Avoid scrubbing delicate internal tissue layers; gently swab only outer wound margins if visibly soiled.
- 4Place a sterile, non-stick dressing squarely over the wound bed and wrap firmly with elastic bandage roll.
- 5Monitor the perimeter regularly for expanding redness, warmth, foul discharge, or systemic fever spikes.
Fracture Immobilization & Field Splinting

Displaced fractures and severe musculoskeletal trauma destroy neighboring blood vessels and nerves during transport if left unsupported. Field immobilization restores structural stability, mitigates excruciating pain, and prevents closed fractures from puncturing through epidermal layers.
Construct rigid splints utilizing commercial malleable aluminum pads or improvised rigid materials such as sturdy hardwood branches, tent poles, or rolled architectural plans. Pad the internal splint surface generously with dense foam, clothing, or shemaghs to eliminate pressure sores, ensuring the splint immobilizes the joints immediately above and below the fracture site.
- 1Assess distal circulation, sensory response, and motor function below the suspected fracture site before touching.
- 2Shape a malleable splint or select rigid structural materials conforming to the casualty's anatomical posture.
- 3Place soft, dry padding along bony prominences to protect skin integrity beneath the rigid framework.
- 4Secure the splint with triangular bandages, elastic wraps, or flat webbing without constricting healthy blood flow.
- 5Recheck distal pulses and finger or toe sensation immediately after wrapping to verify blood circulation.
Patient Monitoring & Medical Evacuation Protocols
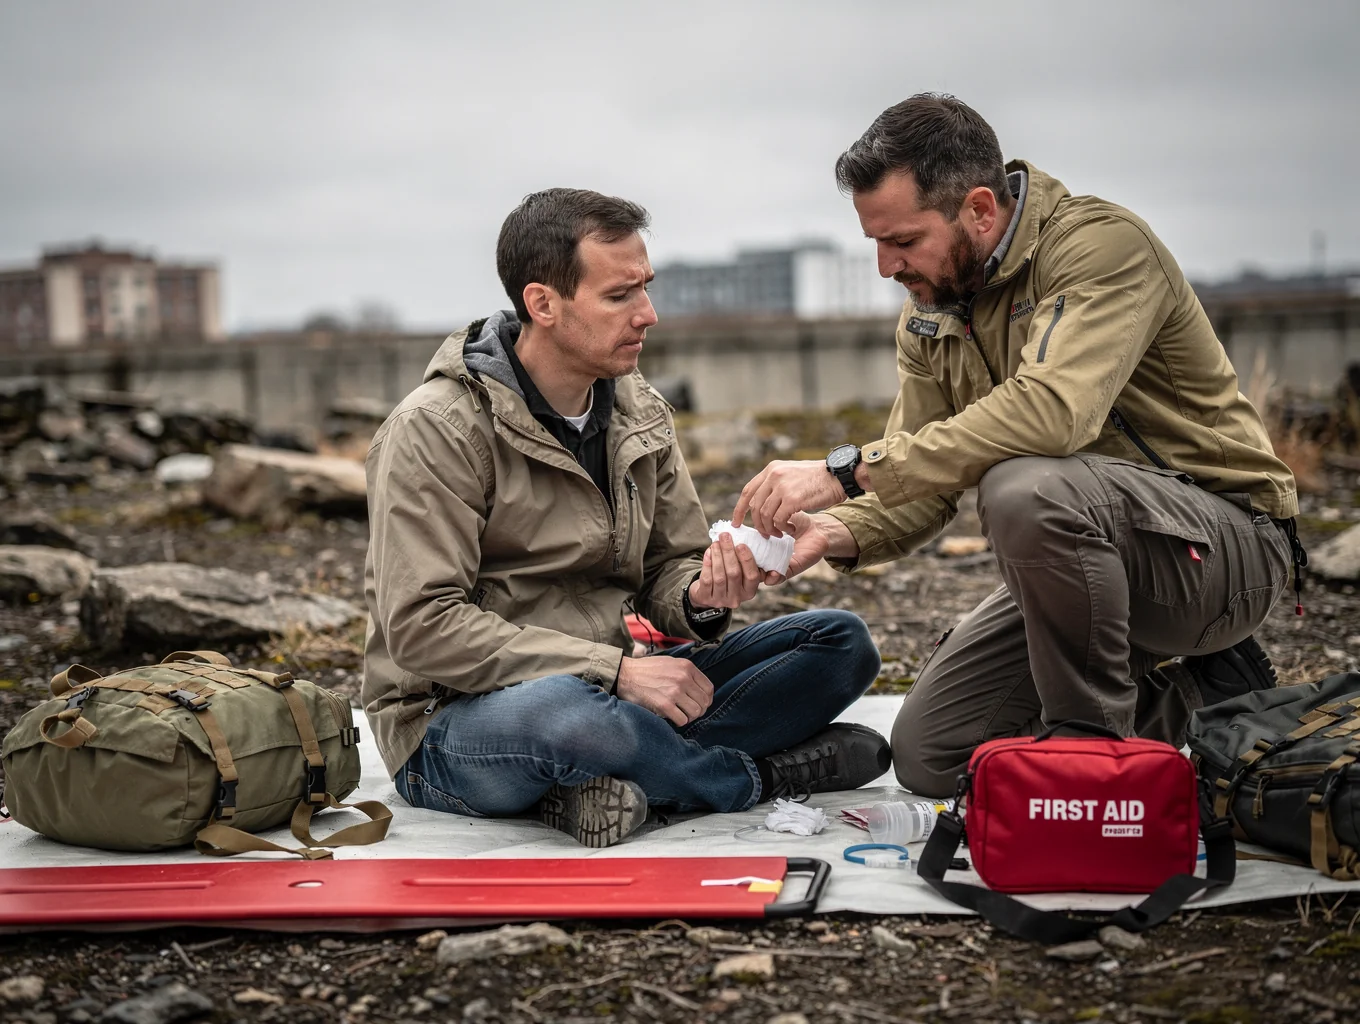
Field survival medicine does not replace comprehensive surgical and medical intervention. Once physical trauma is stabilized, keep the casualty warm, dry, and protected from elements. Trauma patients rapidly develop trauma-induced hypothermia even in moderate ambient temperatures, severely crippling blood coagulation mechanisms.
Enroll in certified, hands-on training courses such as Tactical Combat Casualty Care (TCCC), Wilderness First Responder (WFR), or standard Red Cross trauma certifications before crises occur. Always map emergency transit routes toward working urgent care centers or hospital facilities, maintaining discreet, disciplined movement throughout evacuation.
- 1Wrap the stabilized casualty in insulating blankets or aluminized emergency tarps to retain core thermal energy.
- 2Monitor vital signs continually, noting respiration rate, radial pulse quality, and mental clarity changes.
- 3Keep the casualty hydrated with small sips of clean water only if fully conscious and without abdominal injuries.
- 4Prepare transport litters or two-person carry methods suited for low-signature, overland movement.
- 5Hand over the patient to professional emergency services immediately, detailing applied tourniquet times and observed injuries.
Essential Trauma Kit & Medical Staging
- Certified windlass tourniquets (CoTCCC-recommended models, staged for immediate one-handed deployment)
- Sterile compressed gauze rolls and modular pressure emergency bandages
- Malleable aluminum padded splints (36-inch standard format) with elastic self-adherent wrap
- Sterile saline flush bottles or modular irrigation syringes for wound decontamination
- Heavy-duty trauma shears capable of cutting through tactical webbing and winter outerwear
- Thermal mylar emergency hypothermia blankets and insulated ground pads
- Nitrile exam gloves (powder-free, non-latex) in sealed waterproof carry pouches
More Guides in this Series
Standard operational protocol & readiness briefing.
Standard operational protocol & readiness briefing.
Standard operational protocol & readiness briefing.
Standard operational protocol & readiness briefing.
Standard operational protocol & readiness briefing.
Standard operational protocol & readiness briefing.
Standard operational protocol & readiness briefing.
Standard operational protocol & readiness briefing.