
Shelter
Exposure remains the fastest killer in survival scenarios, compromising mental clarity and core body temperature within hours. Selecting defensible, well-drained terrain, erecting compact wind-shedding structures, and creating thick thermal ground barriers ensure physical endurance while maintaining a discreet, low-signature field presence.
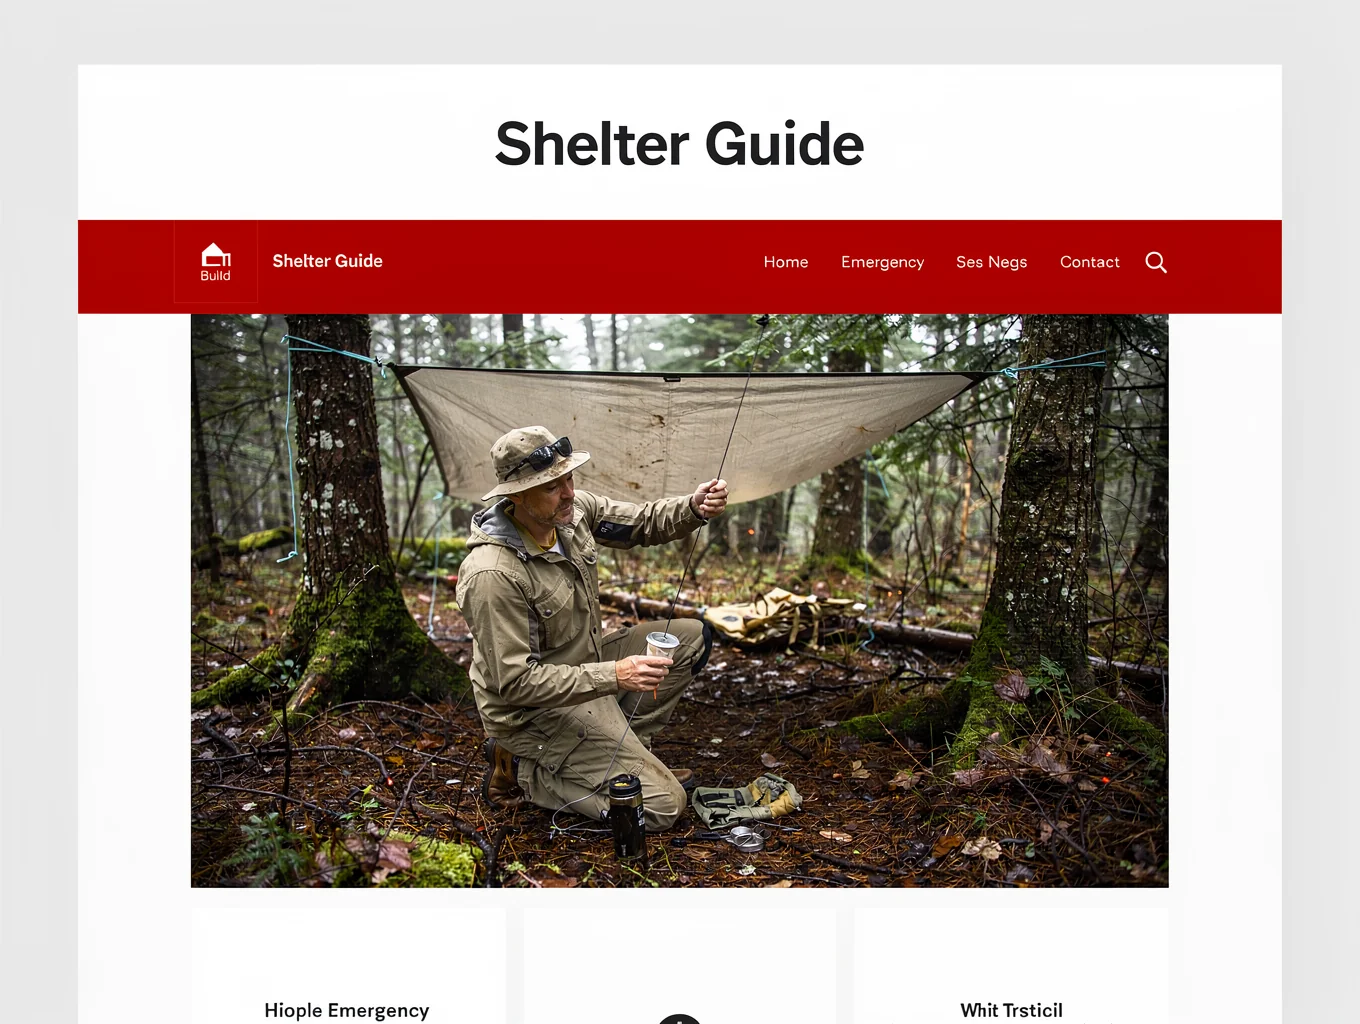
Critical Field Directives
- Prioritize shelter before nightfall; ambient exposure and wind chill degrade physical capabilities rapidly.
- Never bed directly on bare ground; compress at least eight inches of dry organic matter or closed-cell foam.
- Scout overhead hazards thoroughly, checking for 'widowmaker' dead limbs, unstable boulders, and flood paths.
- Maintain a compact internal air space; small shelters heat efficiently with body warmth while oversized ones draw heat away.
- Adopt natural camouflage and subdued tarps to blend seamlessly into the surrounding tree line and topography.
Site Assessment & Terrain Selection
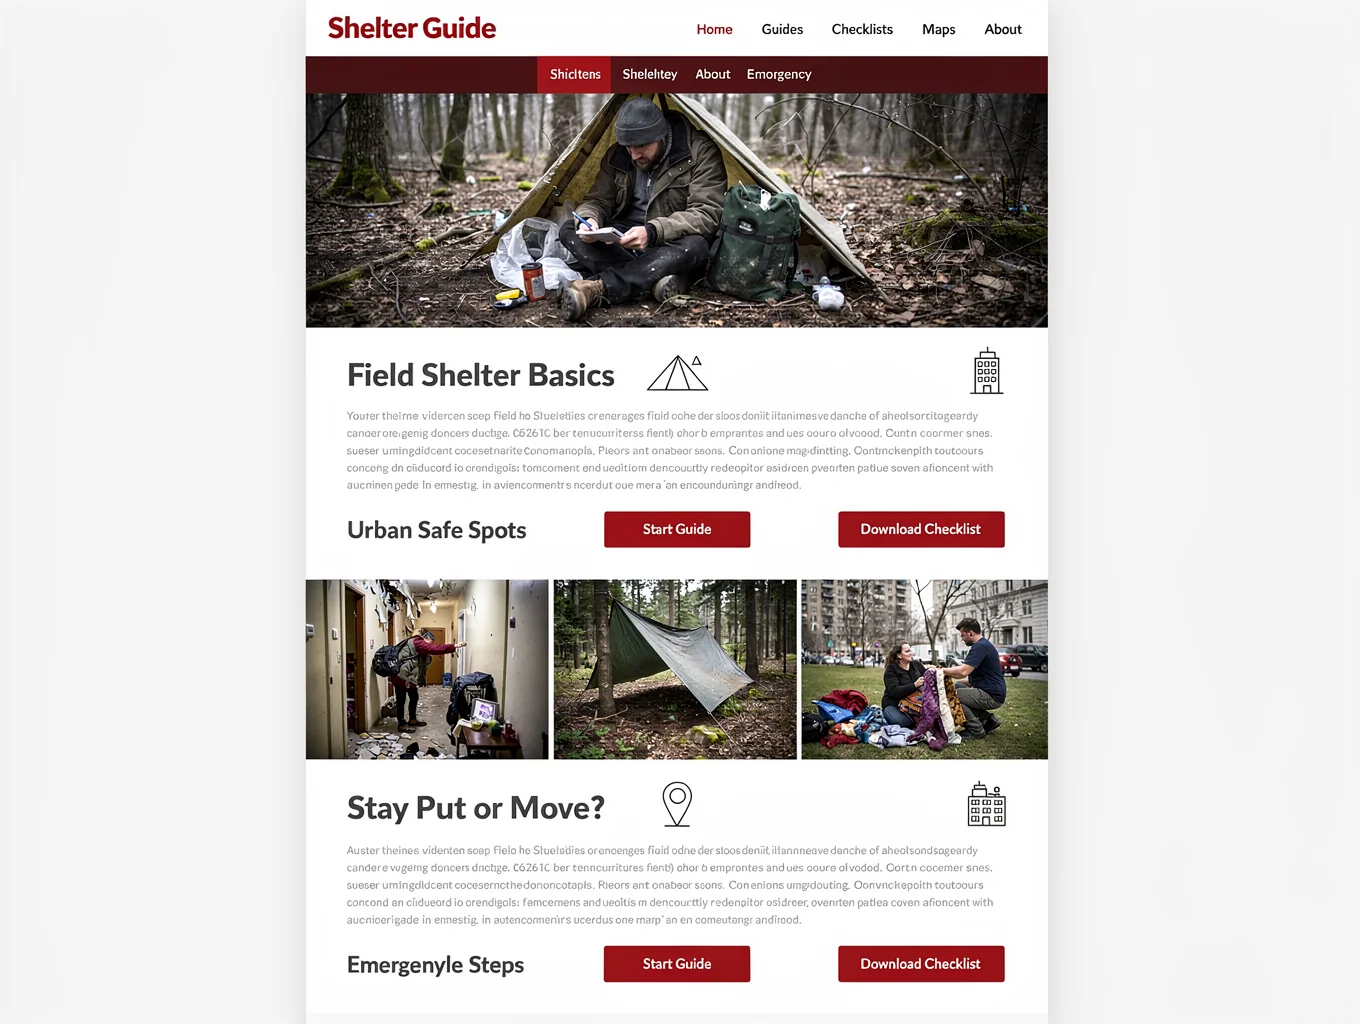
A well-built shelter placed in a hazardous location remains a liability. Before cutting cordage or gathering timber, conduct a 360-degree survey of your immediate sector. Avoid natural wind tunnels, low-lying frost pockets, active game trails, dry riverbeds subject to flash flooding, and cliffs with loose scree.
Look up to verify canopy stability. Dead standing timber and detached hanging branches—often called widowmakers—pose lethal hazards under moderate gusts. Locate flat or gently sloping ground sheltered by natural windbreaks, such as rock outcrops or dense brush, ensuring rainwater drains away from your prospective bed.
- 1Survey the overhead canopy for rot, dead hanging branches, and unstable leaning trunks.
- 2Check topographical lines to ensure placement sits above local cold-air drainage and seasonal washouts.
- 3Position the shelter entrance ninety degrees away from prevailing wind patterns to minimize draft penetration.
- 4Clear loose rocks, exposed tree roots, and damp surface debris down to stable base soil.
Framework Construction & Tactical Geometry
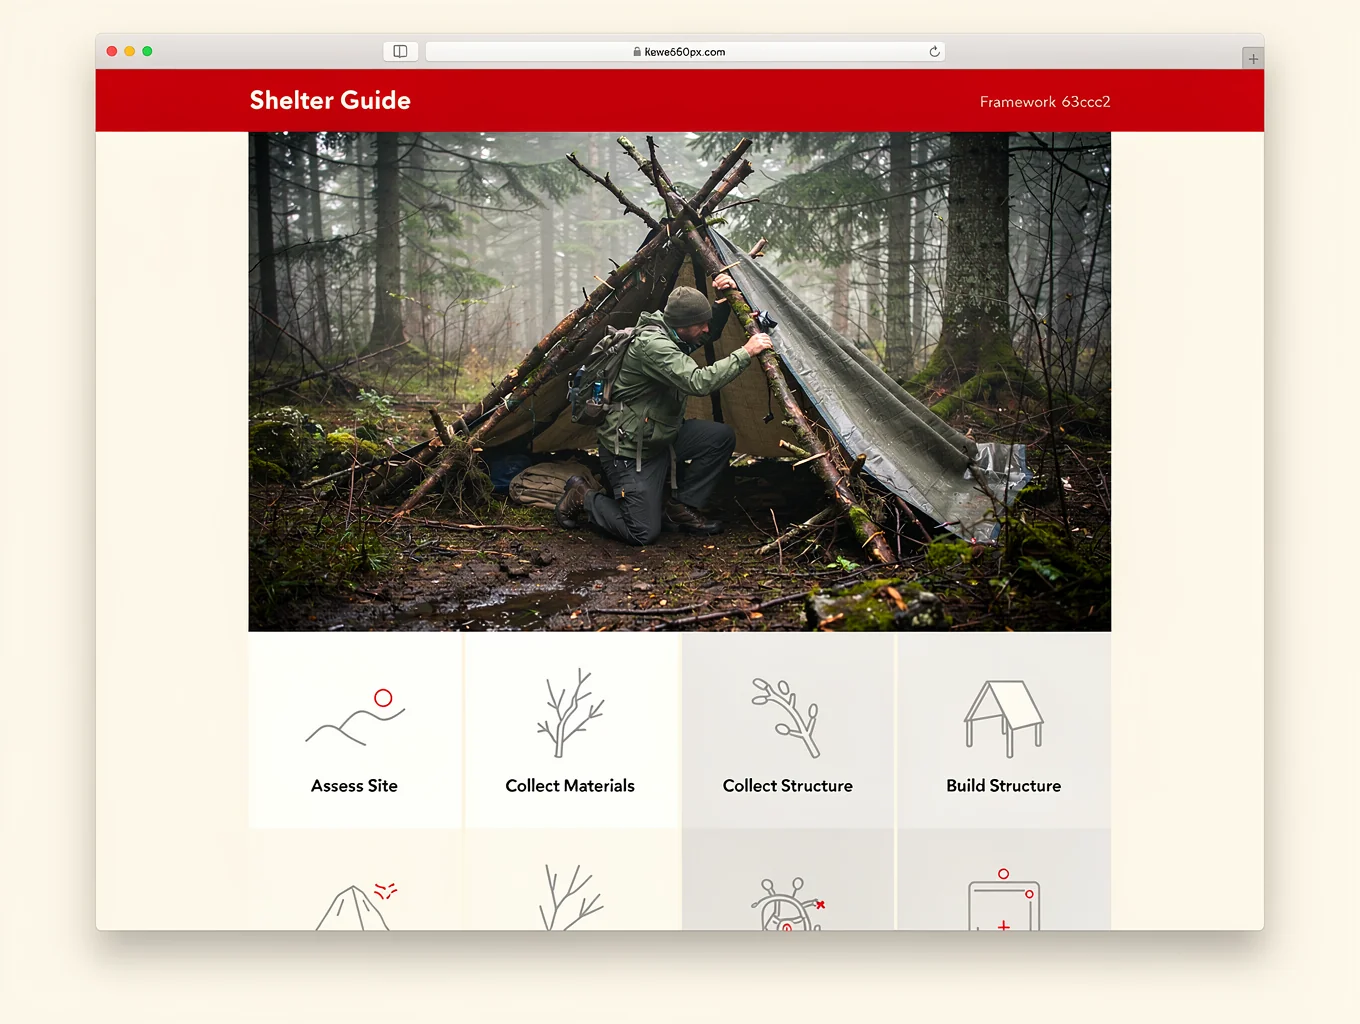
Structural strength and aerodynamic efficiency determine whether a survival shelter endures severe weather. A simple lean-to or low-profile A-frame provides the ideal ratio of rapid assembly time to structural integrity. Keep the interior clearance minimal: excessive headspace traps cold air and dissipates body heat.
Anchor your primary ridgepole securely between two sturdy living trees or a pair of interlocking shear-lash bi-pods. Pitch the slope at a steep forty-five to sixty-degree angle so rain, snow, and falling debris slide off without pooling or compromising your lashing.
- 1Select a straight, sound ridgepole ten to twelve feet long and inspect it for fungal rot or hairline cracks.
- 2Lash or wedge the ridgepole between waist and chest height to balance shelter space with thermal efficiency.
- 3Lean support ribs along both flanks at steep angles, spaced no wider than six inches apart.
- 4Weave smaller flexible branches horizontally through the ribs to form a supportive lattice for roofing materials.
Ground Insulation & Thermal Barrier Creation
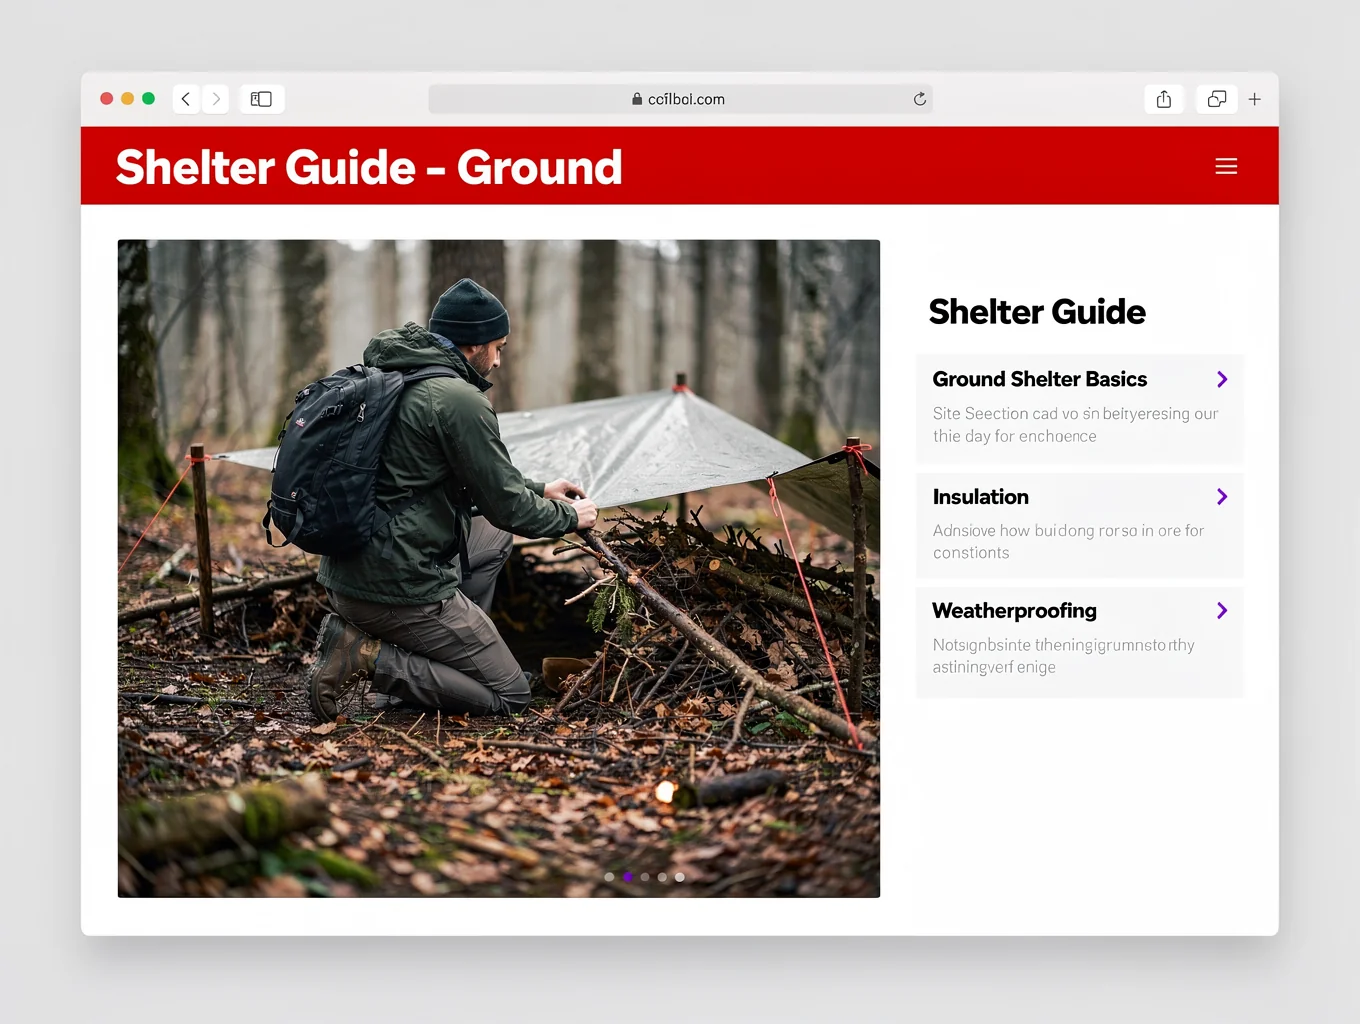
Conductive heat loss into the cold earth drains caloric energy far faster than convective air cooling. Even a high-grade sleeping bag or emergency wool blanket compresses under body weight, losing insulating dead-air space. Building an elevated or heavily insulated bed platform is non-negotiable.
Stack logs or rocks to build a rectangular bed frame, then pack the interior with dry leaves, pine needles, dried ferns, or moss to a depth of eight to twelve inches. When weight settles on the bedding, ensure at least four to six inches of dense loft separates your sleeping bag from the damp terrain.
- 1Lay two parallel log runners slightly longer than your height to define the sleeping perimeter.
- 2Fill the void between runners with dry, loose duff, boughs, and leaves until piled a foot high.
- 3Compress the bedding firmly with hands or knees and add additional layers to maintain adequate loft.
- 4Place a waterproof ground sheet, space blanket, or emergency bivy on top to block upward moisture vapor.
Debris Thatched Roofing & Weatherproofing
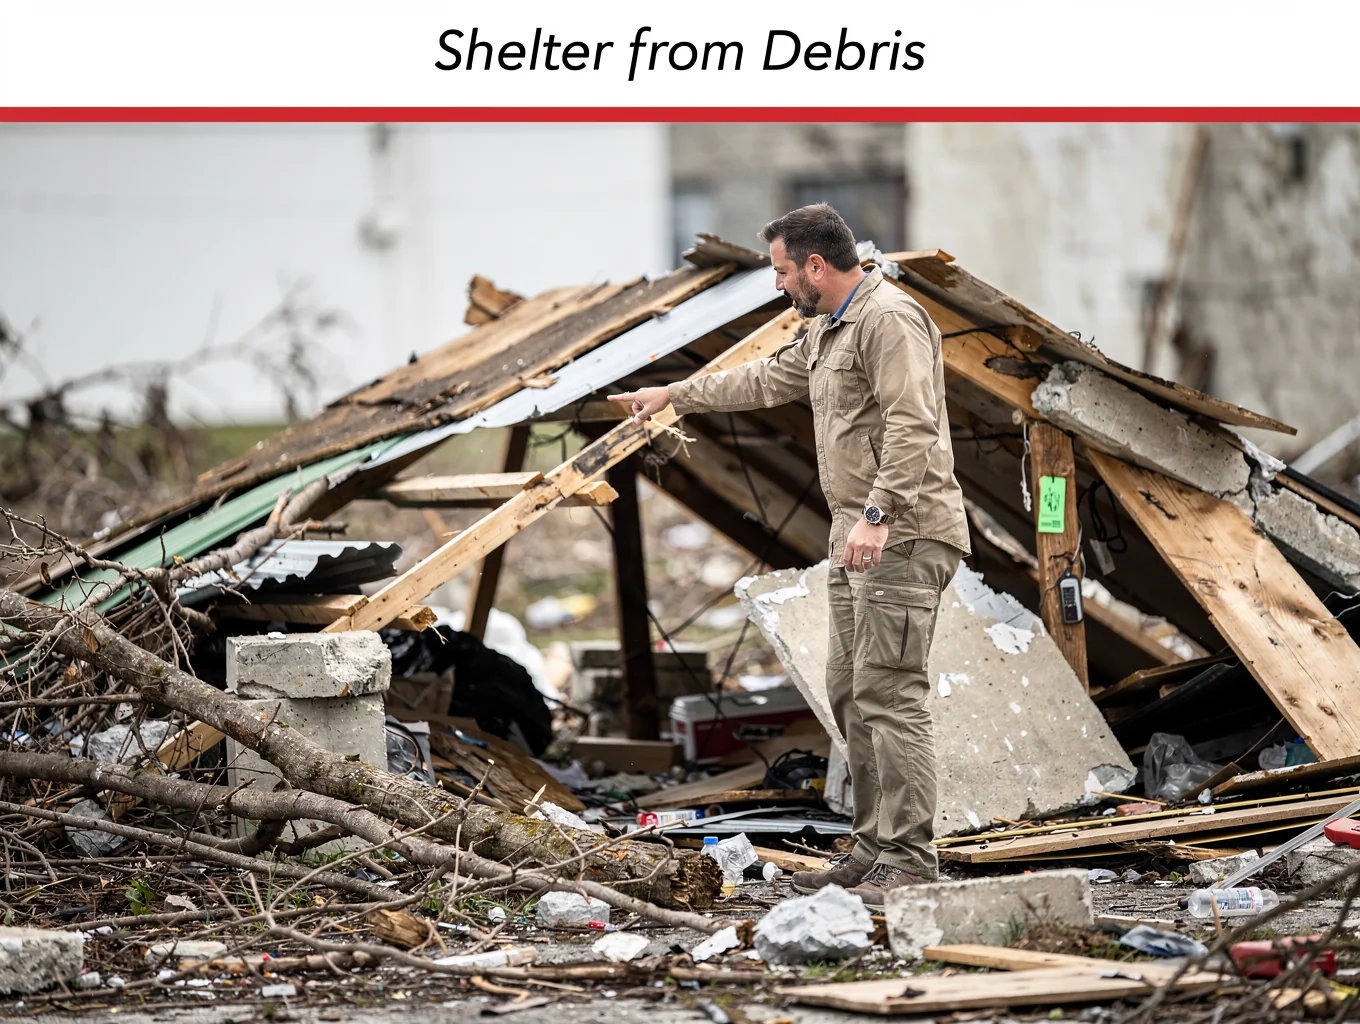
Proper thatching transforms an open branch framework into a weatherproof survival redoubt. Begin applying insulation at the ground level and work upwards in overlapping tiers, mimicking shingles on a standard roof. This shingling direction ensures precipitation cascades down the outer surface instead of dripping inward.
Apply a minimum thickness of two to three feet of dry organic debris over the lattice framework. Once the bulk debris layer is packed, secure the exterior with a final layer of crisscrossed heavy branches to keep strong wind gusts from stripping your insulation away.
- 1Apply a base layer of dense leafy twigs and green boughs directly across the framework lattice.
- 2Pile dry leaves, pine needles, or dry brush in overlapping horizontal rows starting from the bottom.
- 3Build the debris thickness until your arm cannot push through to the structural ribs—at least two feet thick.
- 4Anchor the exterior with a top grid of sturdy branches to lock the light debris against sudden wind squalls.
Essential Shelter Gear Staging
- Heavy-duty earth-tone silicon-nylon tarp (10x10 ft) with reinforced grommets
- 100 feet of Type III 550 paracord or 1.8mm Dyneema reflective guyline
- Compact folding camp saw or heavy-duty full-tang bushcraft knife
- Reflective thermal space blanket or breathable aluminized emergency bivy
- Ultralight closed-cell foam sit pad or sleeping insulation mat
- High-visibility aluminum or titanium tent stakes with notch heads
- Subdued heavy-duty contractor trash bags for moisture barrier and debris collection
More Guides in this Series
Standard operational protocol & readiness briefing.
Standard operational protocol & readiness briefing.
Standard operational protocol & readiness briefing.
Standard operational protocol & readiness briefing.
Standard operational protocol & readiness briefing.
Standard operational protocol & readiness briefing.
Standard operational protocol & readiness briefing.
Standard operational protocol & readiness briefing.